
Seven Steps to a Perfectly Blended Scalp: Mastering the Art of Hair Systems for Men
Introduction:
Men’s hair systems have developed into sophisticated options for people who want to switch up their looks or want a complete head of hair. It takes more than simply choosing the correct hair system to get a smooth and natural look; good scalp preparation and upkeep are essential. We’ll go over seven crucial stages in this tutorial to guarantee a flawlessly blended scalp, which will improve the overall comfort and performance of the hair system of your choice.
Step 1: Use Adhesive Remover on Your Scalp
Using an adhesive remover is the first step towards having a flawlessly integrated scalp for your hair system. This important step makes sure that any glue residue from prior treatments is removed from your scalp, readying it for the next bond. The way the adhesive remover functions is by slowly dissolving the glue, which makes it simpler to remove without endangering your sensitive scalp.
Apply the adhesive remover gently, being sure to cover all the regions where the hair system is going to be connected equally. The remover should be let to sit for the amount of time advised by the product’s instructions. The glue will start to degrade throughout this period, making it simpler to remove. After the specified amount of time, carefully remove the dissolved glue with a gentle cloth or cotton pad.

Step 2: Remove Leftover Adhesive on Hair System
The following essential phase in creating a flawlessly integrated scalp for your hair system is to concentrate on the hair system itself when your scalp is clean and free of glue. This entails clearing the system of any remaining adhesive residues in order to guarantee a spotless surface ready for the subsequent application.
To address this, proceed cautiously during the removal procedure to prevent harming the fragile hair system’s structure. Remove any remaining glue by carefully pealing it off the hair system’s base. To avoid any possible harm, use your fingers or a soft instrument, being careful not to pull or tug too hard.
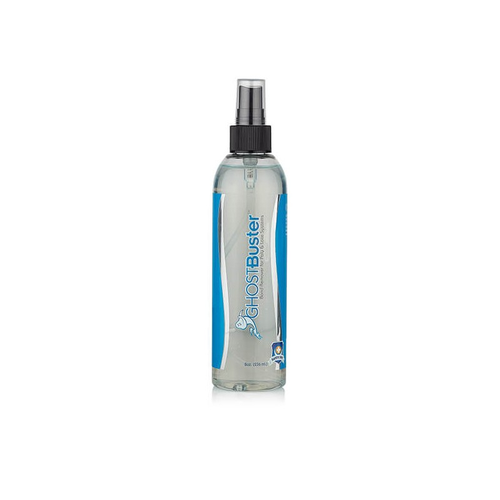
Step 3: Remove Leftover Adhesive Residue
The following stage in getting your hair system’s scalp ideally integrated is to concentrate on thorough cleansing. The next step is to use a bond breaker to remove any remaining adhesive residue from the hair system after the previous step remove any leftover adhesive residue.
A specific substance called a bond breaker is made to remove adhesive residue without endangering the integrity of the hair system. In order to provide uniform coverage in the places where adhesive residues could still be present, apply the bond breaker to the base of the hair system. Allow the bond breaker to work for the specified duration, as indicated in the product instructions.
The bond breaker will efficiently dissolve any leftover glue at this period, making it simpler to remove. To carefully remove the dissolved adhesive residue from the hair system, use a soft cloth or cotton pad. Make sure to be meticulous and make sure that any adhesive residue is removed.
Step 4: Exfoliate Scalp
Exfoliating your scalp marks the pivotal fourth stride toward achieving a seamlessly integrated scalp for your hair system. The act of exfoliation is indispensable for nurturing scalp health and priming it for optimal hair system adhesion.
Utilizing a bespoke exfoliating cream tailored for this purpose, delicately exfoliate the scalp. Employ gentle, circular motions with your hands to massage the exfoliant, ensuring comprehensive coverage of the entire scalp, with focused attention on the areas slated for hair system attachment.
Exfoliation serves as a multifaceted catalyst within this process. Firstly, it facilitates the elimination of dead skin cells, unblocking congested pores, and fostering a velvety-smooth surface for the hair system. Secondly, it stimulates blood circulation, bestowing overall health benefits to the scalp.
Given the scalp’s delicate nature, exercising prudence when selecting exfoliants of excessive strength or abrasiveness is imperative. A thorough yet gentle exfoliation will invigorate your scalp, preparing it for the subsequent stages of hair system application.
Step 5: Cleanse the Hair System with a Conditioner
The fifth stage in creating a flawlessly integrated scalp for your hair system is to use a conditioner to clean the hair system. This step is essential to preserving the vigor and health of the hair in your system and guaranteeing a seamless blending experience.
The first step in cleansing the hair system is to use a gentle and nourishing conditioner designed specifically for synthetic or human hair systems. Gently work the conditioner into the hair strands to achieve even coverage. As stated in the package directions, let the conditioner sit for the suggested amount of time.
After the designated time, rinse the hair system thoroughly to remove the conditioner. Pat the hair system dry with a clean towel, being careful not to rub vigorously to avoid damaging the delicate hair fibers.

Step 6: Apply Alcohol to Saturate Scalp
As we set out to create a perfectly balanced scalp for your hair system, the sixth step is applying alcohol to the scalp with great care so that it becomes completely saturated. This crucial stage is essential to guaranteeing that the scalp is clean and primed for the adhesive application that follows.
Using a clean cotton pad or swab is recommended for applying alcohol to the scalp. Apply alcohol to the scalp gently, being careful to fully and evenly coat any area where the hair system will be fitted. The alcohol’s strong degreasing qualities enable it to eliminate any oils or residues that could impede the bonding process.
It is imperative to exercise both thoroughness and gentleness during this step. Subsequently, allow the alcohol to naturally evaporate or air-dry following application. This meticulous approach guarantees that the scalp is impeccably dry before proceeding to the ensuing steps.
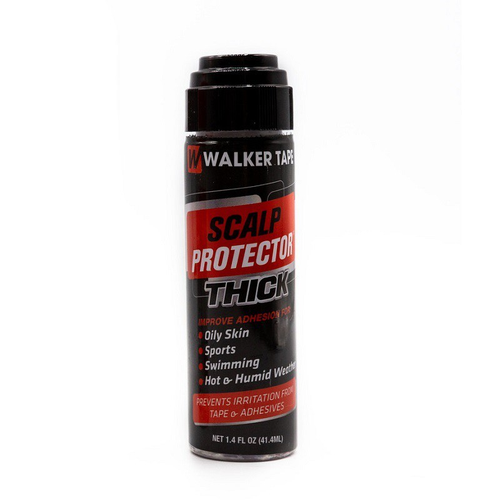
Step 7: Use a Scalp Protector or a Skin Med Before Applying Adhesive Again
The protection of your scalp must come first in the penultimate stage towards creating a flawlessly integrated scalp for your hair system, before applying any more glue. Step 7 is separating the scalp from the glue by applying a barrier with a scalp protector or a skin-friendly medical solution.
To apply the scalp protector, follow the product instructions carefully. Use a clean applicator or cotton pad to evenly distribute the protector across the areas where the hair system will be attached. Ensure thorough coverage, creating a barrier that safeguards your scalp throughout the bonding process.
By prioritizing scalp protection in this final step, you ensure a comfortable and secure experience during the adhesive application. This preventive action extends the life of your hair system and benefits the general health of your scalp.
Conclusion:
Mastering the art of hair systems for men involves meticulous care and attention to detail. The seven steps outlined here provide a comprehensive guide to achieving a perfectly blended scalp, setting the stage for a seamless integration of your chosen hair system. Remember, the key to a natural and comfortable experience lies in the preparation and maintenance of both your scalp and the hair system. With these steps, you can confidently embrace the transformative power of hair systems, enjoying a full head of hair or a customized style with ease and confidence.